With vRA 7 we can create XaaS Service Blueprints. These type of blueprints can be used for almost any request you can think about. But what if you need to modify or update this type of service blueprint, how can you find the correct vRO workflow which has been used for this service blueprint ?
This blog article explains how to find it.
- Make sure you have a working vRA 7 environment where you have published a XaaS Service Blueprint to your Service Catalog. In this example I am using the XaaS Service Blueprint “Create logical switch“. Now lets find the belonging vRO workflow.

- Start your vRO client and navigate to the Inventory Tab. Next unfold your Xaas Service Blueprints, they are located in the folder: vRealize Automation –> <your vrealize virtual appliance> –> Administration –> XaaS Service Blueprints Select the corresponding XaaS Service Blueprint (In my example “Create logical switch“) and make a note of the workflowId (see screenshot).

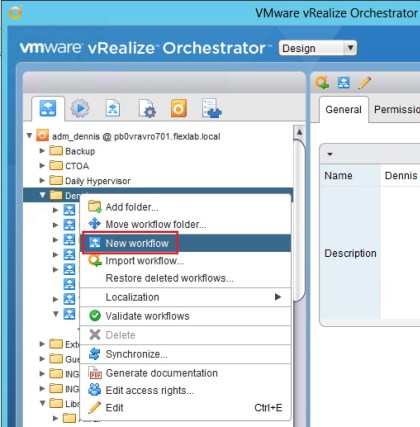
- Now lets create a new simple vRO workflow. In my case the name is “Find my Workflow by ID“.


- Go to the Inputs tab and create a new parameter with the Name workflowId and the Type string.

- Go to the Ouputs tab and create a new parameter with the Name workflowLocation and the Type Workflow. Create a second new parameter with the Name workflowName and the Type string.

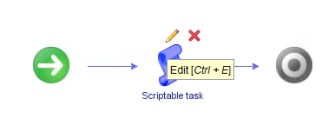
- Go to the Schema tab and drag a Scriptable task into your workflow schema.


- Select the Scriptable task and click on yellow pencil for edit. Next give it a logical name like Find my Workflow.


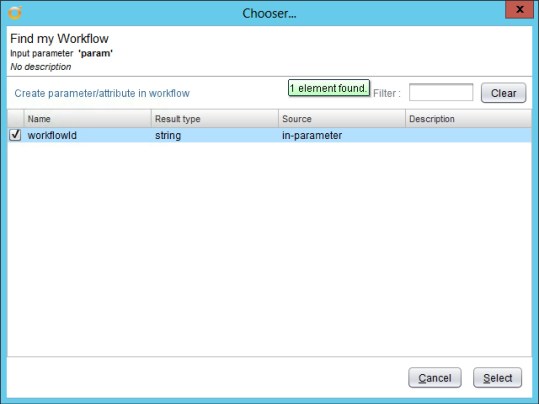
- Go to the IN tab and click on the create new binding button.

- Mark the checkbox workflowId and click Select.


- Go to the OUT tab and click on the create new binding button. Mark the checkboxes workflowLocation and workflowName and click Select.


- Now go to the Scripting tab and type the following JavaScript code: var workflowLocation = Server.getWorkflowWithId(workflowId);
var workflowName = workflowLocation.name;
- If you did everything properly the IN and OUT attributes will change to the color purple in your JavaScript code (as displayed in above screenshot).
- The Visual Binding tab will look like the screenshot below. You can now click on Close.

- Now Click on Validate to check your workflow for errors. When everything is OK, you will see the message “Workflow is valid!“. Close the validation window and click Save and close.

- Click Continue anyway if you don’t want to change the workflow version number. This is the first version of your workflow so this will be fine.

- Start your new workflow now and lets see if we can find our XaaS Service Blueprint “Create logical switch“.

- Please enter the workflowId you have found in step 2 and click Submit.

- If your workflow can find the workflowId you provided, it will succeed successfully. Like the below screenshot.

- Now go to the Variables tab and click on the info button of the workflowLocation Value. In here it will reveal the name and the location of your vRO workflow used for your XaaS Service Blueprint “Create logical switch“.


Great article 2vsteaks!